 Save
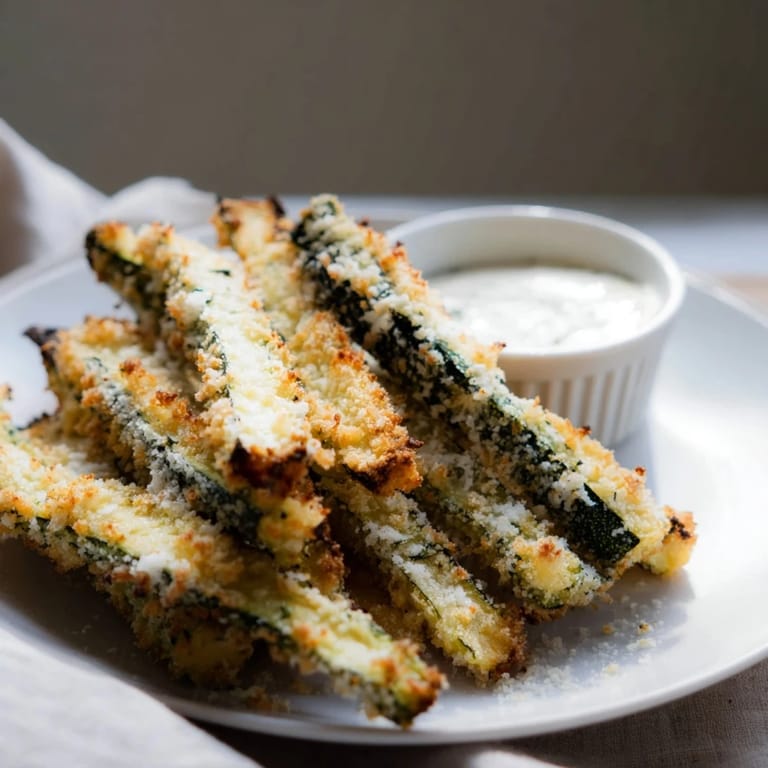
Save The first time I made zucchini fries was during a summer glut when my neighbor dropped off a grocery bag full of garden zucchini on my doorstep. Standing in my kitchen, surrounded by more squash than I knew what to do with, I remembered a crispy treat I'd had at a local bistro. The transformation of humble zucchini into golden, crunchy sticks that even my veggie-skeptical nephew devoured felt like kitchen alchemy. That afternoon changed my relationship with zucchini forever.
Last summer, I brought these to a backyard gathering where they were supposed to be just one of many appetizers. I watched with amusement as the platter was continuously surrounded by guests, their fingers darting in for more. A friend's teenager who supposedly hated all vegetables was caught sneaking into the kitchen to find the second batch I was preparing. By evening's end, three other people had asked for the recipe.
Ingredients
- Zucchini: Medium-sized ones work best as they have fewer seeds and less water content - a lesson I learned after my first soggy batch.
- Panko breadcrumbs: The secret weapon for that restaurant-quality crispiness that regular breadcrumbs just can't match.
- Parmesan cheese: Freshly grated works infinitely better than pre-packaged, creating that nutty, savory crust that makes these irresistible.
- Greek yogurt: Adds a subtle tanginess to the dipping sauce that perfectly balances the richness of the mayonnaise.
- Dijon mustard: Just a teaspoon transforms the dipping sauce from good to memorable with its complex sharpness.
Tired of Takeout? 🥡
Get 10 meals you can make faster than delivery arrives. Seriously.
One email. No spam. Unsubscribe anytime.
Instructions
- Prep your station:
- Preheat your oven to 425°F and line that baking sheet with parchment paper. The parchment isn't just for easy cleanup - it actually helps the fries crisp more evenly.
- Create your assembly line:
- Beat those eggs in one shallow bowl until frothy, then mix your panko, Parmesan, and all those aromatic seasonings in another. You'll notice the mixture smells incredible already.
- The dipping dance:
- Dunk each zucchini stick first in egg, allowing excess to drip off, then roll in the breadcrumb mixture, pressing gently to adhere. Try to use one hand for wet ingredients and one for dry to avoid the dreaded breaded fingers.
- Arrange for success:
- Place your coated fries on the baking sheet with space between each one. That breathing room is crucial for crispiness - when they touch, they steam instead of crisp.
- Bake to golden perfection:
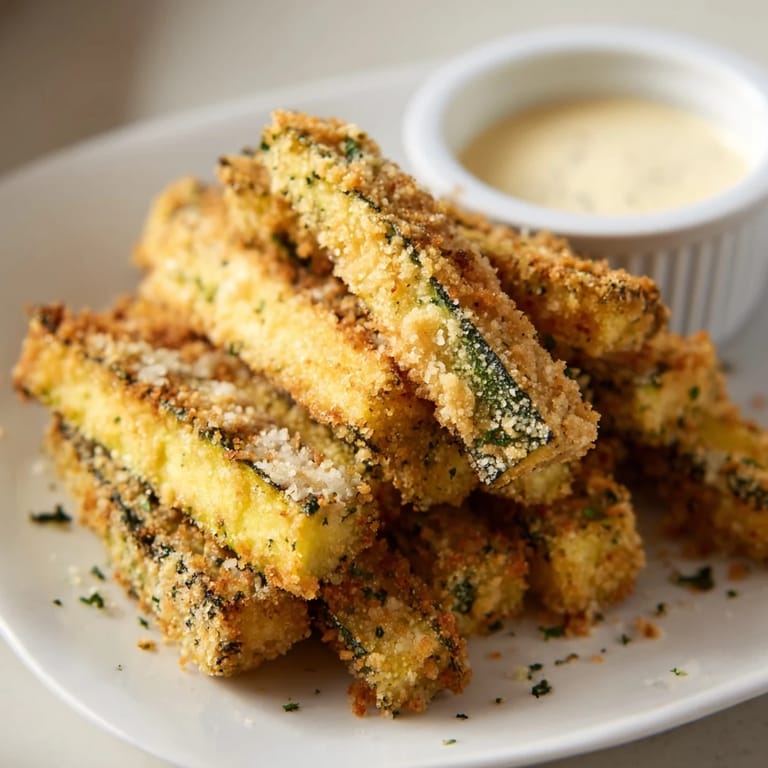
- Slide them into your preheated oven and set a timer for 10 minutes before flipping. You'll know they're ready when they're uniformly golden and making your kitchen smell like an Italian bistro.
- Whip up the sauce:
- While the fries bake, stir together all the sauce ingredients until smooth and creamy. A quick taste test usually leads me to add an extra squeeze of lemon for brightness.
 Save
Save One rainy Sunday afternoon, my daughter and I made these together while my husband was under the weather. The kitchen filled with the aroma of herbs and cheese, and for a moment, the gray day outside seemed to brighten. When we brought a plate to him, his face lit up in surprise. These simple zucchini fries became our comfort food that day, proving that sometimes the most unexpected dishes become the ones that carry memories.
Variations To Try
Over the years, I've experimented with countless variations of these fries. Adding a quarter cup of finely chopped fresh herbs like dill or basil to the breadcrumb mixture brings a garden-fresh dimension. For heat lovers in my family, I'll incorporate a teaspoon of smoked paprika or cayenne. My neighbor swears by adding a tablespoon of nutritional yeast for an extra cheesy flavor that makes these completely addictive.
Make-Ahead Options
These zucchini fries have saved me during impromptu gatherings more times than I can count. You can bread the zucchini up to four hours ahead and keep them refrigerated on a baking sheet. Just bring them to room temperature for about 15 minutes before baking. The dipping sauce actually improves with time, developing deeper flavors when made a day ahead and stored in an airtight container in the fridge.
Serving Suggestions
While these fries shine as an appetizer, they've made appearances in so many other settings at my table. They're fantastic alongside grilled fish for a light summer dinner or paired with a hearty sandwich instead of potato chips. I've even served them as part of a vegetable-forward brunch spread that had guests raving for weeks.
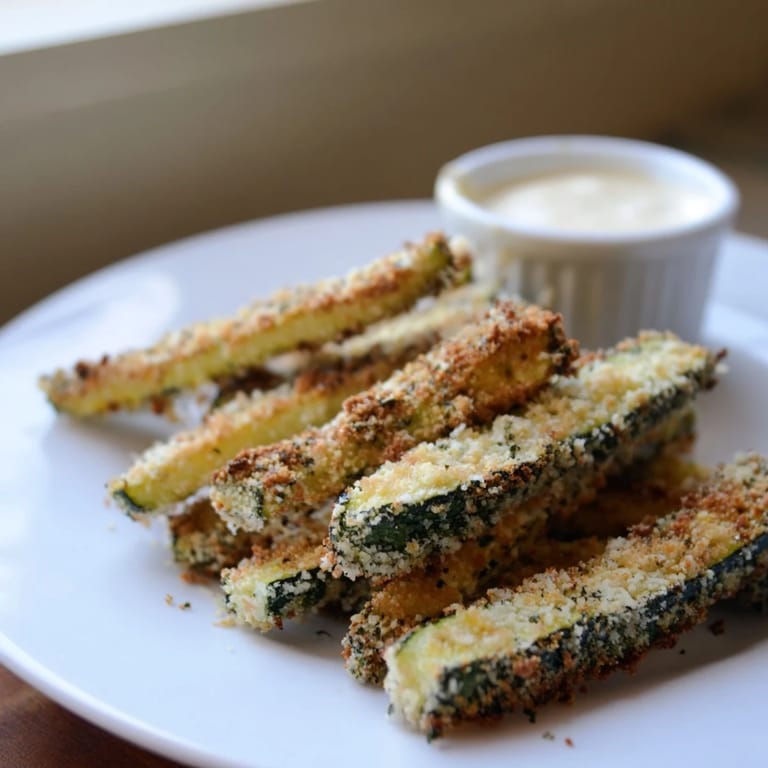
- For a beautiful presentation, serve in a paper-lined basket with small ramekins of dipping sauce and a sprinkle of fresh herbs.
- These pair wonderfully with a crisp Sauvignon Blanc or a light lager if serving as an appetizer with drinks.
- For a complete appetizer spread, serve alongside marinated olives and a simple caprese salad for an Italian-inspired starter.
 Save
Save Whether served at a fancy dinner party or eaten straight off the baking sheet in your kitchen, these crispy zucchini fries bring a moment of simple joy. They remind us that sometimes the most humble ingredients create the most memorable dishes.
Recipe FAQs
- → Can I make these fries ahead of time?
Yes, you can prepare the coated zucchini fries up to 2 hours ahead. Store them on a baking sheet covered with plastic wrap in the refrigerator. Bake as directed when ready to serve, adding 2–3 minutes to the cooking time if baking from cold.
- → What's the best way to get them extra crispy?
Use panko breadcrumbs instead of regular breadcrumbs, and don't skip the oil spray or olive oil drizzle before baking. Turning them halfway through cooking ensures even browning. For ultimate crispiness, try air frying at 400°F for 12–15 minutes.
- → Can I freeze these for later?
Absolutely. Freeze the breaded zucchini fries on a baking sheet for 2 hours, then transfer to a freezer bag for up to 3 months. Bake directly from frozen, adding 5–7 minutes to the cooking time until golden and heated through.
- → What if I don't have Greek yogurt for the sauce?
Greek yogurt adds creaminess and tang, but you can substitute sour cream, regular yogurt, or even mayo in equal amounts. Each option creates a slightly different flavor profile while maintaining the creamy consistency.
- → Are these gluten-free?
Traditional panko breadcrumbs contain wheat, but you can substitute gluten-free panko or crushed gluten-free crackers for a similar texture. Verify that all seasonings and the Dijon mustard are certified gluten-free.
- → How do I store leftover fries?
Store cooled fries in an airtight container in the refrigerator for up to 3 days. Reheat in a 350°F oven for 8–10 minutes to restore crispiness. Avoid microwaving, which can make them soggy.