 Save
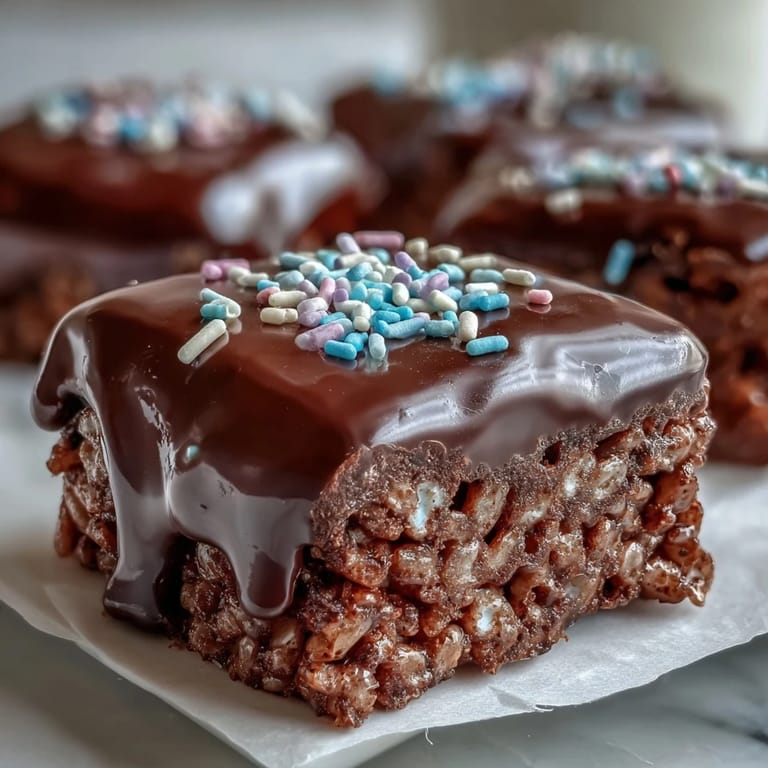
Save My little nephew watched, wide-eyed, as I poured warm chocolate over a pan of cereal treats last spring. He asked if we were making candy or breakfast, and honestly, it felt like both. The kitchen smelled like butter and sugar, and the chocolate pooled into every crispy corner. That batch disappeared in under an hour.
I brought a tray to a potluck once, and someone asked for the recipe before they even finished chewing. The crunch, the marshmallow chew, and that glossy chocolate layer hit all the right notes. It became my go-to whenever I needed something foolproof and crowd-pleasing. Even my friend who claims she doesn't like sweets grabbed a second square.
Ingredients
- Unsalted butter: This melts the marshmallows into a silky base, so use real butter for the best flavor and texture.
- Mini marshmallows: They melt faster and more evenly than the large ones, making the mixture smoother and easier to work with.
- Rice Krispies cereal: The hero ingredient that gives these treats their signature snap and lightness.
- Fine sea salt: A tiny pinch balances the sweetness and makes every flavor pop without tasting salty.
- Semisweet or dark chocolate chips: Choose a chocolate you love eating on its own, because it becomes the star topping.
- Vegetable oil or coconut oil: This keeps the chocolate smooth and glossy, preventing it from seizing or cracking when it sets.
- Rainbow sprinkles or chopped nuts: Optional, but they add a playful crunch and a pop of color that makes each bar feel festive.
Tired of Takeout? 🥡
Get 10 meals you can make faster than delivery arrives. Seriously.
One email. No spam. Unsubscribe anytime.
Instructions
- Prep Your Pan:
- Grease an 8x8-inch or 9x9-inch square baking pan generously with butter so the treats lift out cleanly later. You can also line it with parchment for even easier removal.
- Melt the Butter:
- In a large saucepan over low heat, melt the butter slowly, stirring constantly so it doesn't brown or burn. Keep the heat gentle and patient.
- Add Marshmallows:
- Toss in the mini marshmallows and stir continuously until they melt into a smooth, gooey mixture. This takes about 3 to 4 minutes.
- Season the Base:
- Remove the pan from heat and stir in the sea salt if you're using it. This is also the moment to add a splash of vanilla if you want extra warmth.
- Fold in Cereal:
- Add the Rice Krispies and gently fold with a spatula until every piece is coated in marshmallow. Work quickly but carefully so the cereal doesn't crush.
- Press into Pan:
- Transfer the mixture to your prepared pan and press it down evenly and firmly using a buttered spatula or your hands. Try to get it as flat and compact as possible.
- Let It Rest:
- Allow the base to sit at room temperature for about 10 minutes to firm up slightly before adding the chocolate.
- Melt the Chocolate:
- In a microwave-safe bowl, combine chocolate chips and oil, then microwave on medium power in 30-second bursts, stirring after each, until smooth and glossy. Don't rush this or the chocolate can scorch.
- Pour and Spread:
- Pour the melted chocolate over the cooled Rice Krispy layer and spread it evenly with an offset spatula or the back of a spoon. Work gently so you don't disturb the base.
- Add Garnish:
- Immediately sprinkle with rainbow sprinkles or chopped nuts while the chocolate is still wet. Press them in lightly so they stick.
- Set the Chocolate:
- Let the treats sit at room temperature for at least 1 hour, or pop them in the fridge for 20 to 30 minutes until the chocolate hardens completely.
- Cut into Bars:
- Once set, lift the block from the pan using parchment overhang or invert it onto a cutting board. Use a sharp knife to cut into 12 to 16 bars, wiping the blade between cuts for clean edges.
 Save
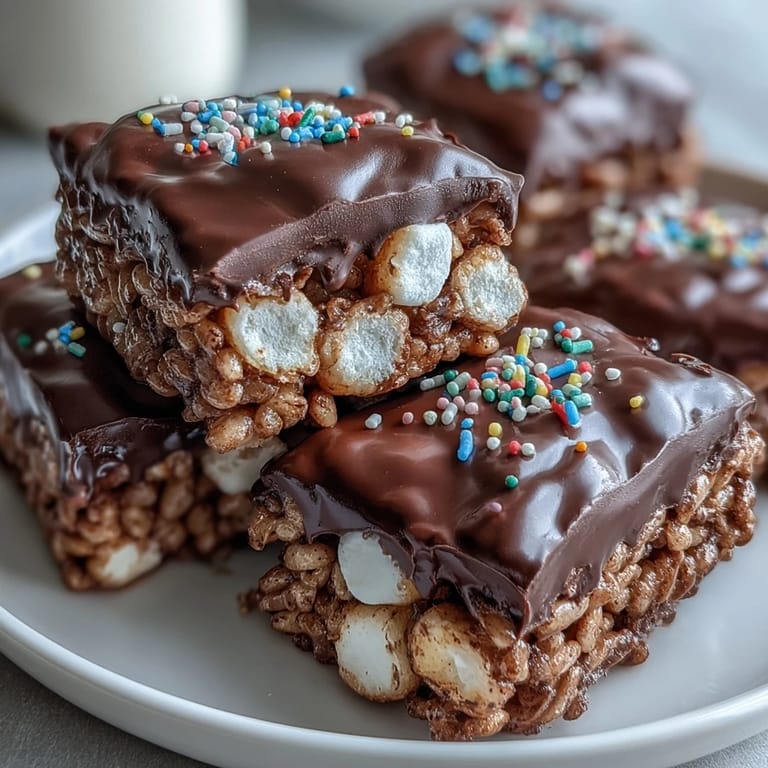
Save One evening, my daughter helped me press the cereal into the pan, her hands sticky and giggling the whole time. When we finally cut into the finished bars, she held one up like a trophy. That little moment of pride on her face made the whole mess worth it. These treats have a way of turning an ordinary afternoon into something you remember.
How to Store Them
I keep these in an airtight container at room temperature, and they stay fresh and crunchy for up to 3 days. If your kitchen runs warm or you want them to last longer, store them in the fridge for up to a week. Just let them sit out for a few minutes before serving so the chocolate softens slightly and the texture feels just right.
Ways to Switch It Up
I've swapped the semisweet chocolate for white chocolate and tossed pastel sprinkles on top for a spring party, and it looked bakery-perfect. You can also drizzle melted peanut butter over the chocolate layer or stir a handful of mini chocolate chips into the cereal mixture before pressing it down. One time I added a pinch of cinnamon to the marshmallow base, and it gave the whole batch a cozy, unexpected warmth.
What to Watch For
The biggest mistake I made early on was using high heat to melt the marshmallows, which made the mixture stiff and hard to spread. Low and slow is the secret to a smooth, pliable base. Also, don't skip the oil in the chocolate, it's the difference between a glossy finish and a dull, cracked coating.
- Use a buttered spatula or your hands to press the cereal mixture, or it will stick everywhere.
- Let the base cool slightly before adding chocolate, or it can melt unevenly.
- Cut with a sharp knife and wipe it clean between slices for picture-perfect bars.
 Save
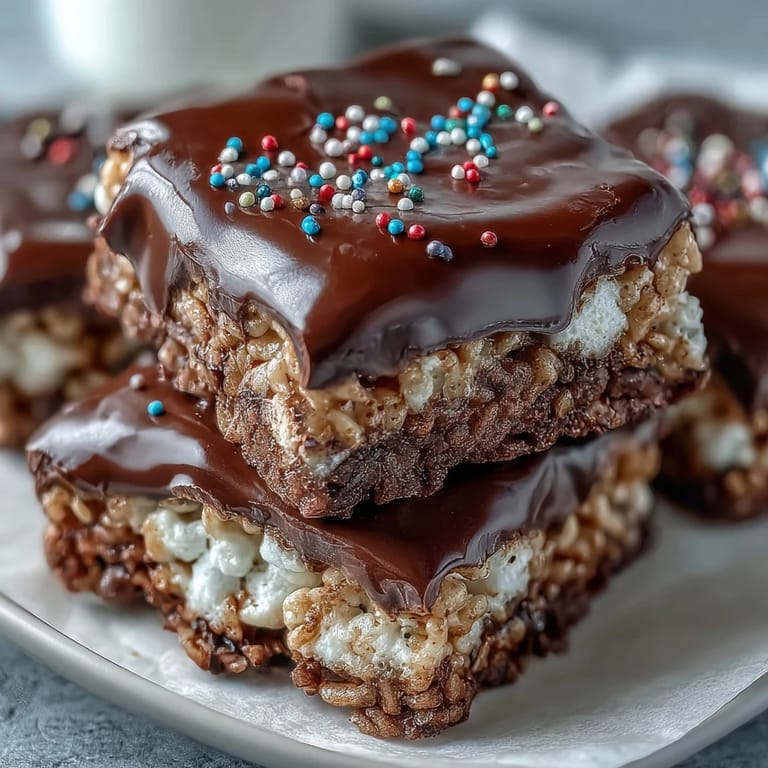
Save These bars show up at every family gathering now, and I'm always happy to make them. They're easy, they're fun, and they disappear fast, which is exactly what a good treat should do.
Recipe FAQs
- → How do I prevent the marshmallows from burning?
Melt the butter first over low heat, then add marshmallows and stir constantly. Keep the heat low and remove from the stove immediately once smooth. This prevents browning and ensures a perfectly gooey consistency.
- → Can I use different types of chocolate?
Absolutely. Semisweet, dark, milk chocolate, or even white chocolate work beautifully. White chocolate with pastel sprinkles creates a lovely variation for holidays and special occasions.
- → Why is my chocolate topping streaky or dull?
This happens when chocolate gets too hot or water gets into the mixture. Microwave in 30-second intervals, stirring well each time. Letting the chocolate cool slightly to 88°F before pouring also gives a professional glossy finish.
- → How do I cut clean squares without making a mess?
Let everything set completely—at room temperature for an hour or refrigerated until firm. Use a sharp knife and wipe the blade clean between cuts. Lifting the entire block from the pan using parchment paper overhang makes cutting much easier.
- → Can I make these ahead of time?
These store beautifully in an airtight container at room temperature for up to 3 days, or in the refrigerator for up to a week. They also freeze well for up to 2 months—just thaw at room temperature before serving.
- → What's the best way to press the cereal mixture into the pan?
Use a buttered spatula or butter your hands lightly to prevent sticking. Press firmly and evenly for compact bars that hold their shape, but avoid pressing too hard which can make them overly dense.